Every non-fungible token (NFT) is unique and serves as a digital record of ownership. It identifies that you are the creator or owner of a certain digital asset. That could be a song, drawing, or any other media and content.
NFTs can be profitable for individuals and businesses. You can create a digital item and sell it to earn money. Companies can sell event tickets or create NFT collections as extra income streams.
Ethereum is among the most popular destinations for creating NFTs. The network offers a reliable place to host your NFT and a simple creation process. If you are ready to create your first non-fungible tokens, find the steps to follow below!
Why You Should Consider Creating an NFT
According to our experts, these are the main reasons why to consider creating an NFT:
- Enhance digital ownership and provenance. An NFT proves that you are the item’s owner or creator. Even when you sell the token, there’ll be proof of its origin.
- Explore diverse applications. NFT can represent music or other digital content. It can also serve as proof that you own a physical item. That includes anything from event tickets to selling artwork and even using NFTs in real estate.
- Improve brand awareness and reputation. Many reputable brands, such as Adidas and other shoe creators, launched their NFT collections. Sports teams also designed non-fungible tokens to boost their bond with the fans. NFTs can be an excellent way to develop a brand and improve its awareness and popularity.
Step-by-Step Process of NFT Creation
The first, and arguably the hardest, step is considering what you want to create. You might be a music creator who just completed an amazing song. Or you made an animated video or used AI to design a unique picture.
The important thing is that the NFT is unique — that’s where its value lies. And it’s worth noting that you need to be certain you are the rightful owner. Otherwise, you could end up having legal issues regarding the asset ownership.
Once you are ready to create an NFT on Ethereum, here is how to complete the process.
1. Set Up an Ethereum Wallet
Ethereum is the favorite destination for NFT creation. Azuki, Mutant Ape Yacht Club, and Pudgy Penguins are some examples of popular tokens. According to statistics, Ethereum NFTs often reach a six-figure value during sales.
Your first step is to get an NFT wallet. While there’s a huge range of wallets supporting Ethereum, here are your best options:
- MetaMask. It offers NFT smart contract support and is compatible with Ethereum and other blockchains. MetaMask is an excellent option for effortlessly storing and managing your NFTs and crypto coins. You can use it via a web browser and on your mobile devices.
- Enjin. If you need a non-custodial wallet that gives total NFT control, Enjin is a good pick. You can use it on the go with a free mobile app.
- Alpha Wallet. The developers created the wallet on the Ethereum blockchain. The NFT collection is impressive, and the product offers complete control with the non-custodial feature.
Head to the chosen platform to download and set up a crypto wallet.
2. Purchase Ethereum (ETH)
You will need some Ethereum in your wallet because the network requires gas fees for transactions. The actual charges depend on the moment your listing is published. It should be easy to acquire some ETH coins since most exchanges support this altcoin. It’s possible to purchase it with fiat currencies or trade cryptos already stored in your wallet for ETH. You can use this ETH calculator to learn more about the asset value and potential.
3. Choose an NFT Marketplace
Source: Pixabay
We suggest picking a popular marketplace with generous existing NFT collections. The reason is that these platforms attract more users, indicating a better chance to sell your token. Some popular options include the following:
- OpenSea. The platform has an excellent reputation among traders. You can find art, gaming, photography, music, and other NFTs. They are well-sorted into different categories, and there are helpful sections like current top buys and trending lists.
- OKX. It’s a decentralized exchange that supports NFT creation on different blockchains. If you are a crypto trader, you might have had previous experience with OKX, which means you’ll be familiar with the interface when creating NFTs.
- Rarible. Rarible is a user-friendly marketplace where you can create and sell non-fungible tokens. It has a list of the latest drops in a visible position, so you’ll get some attention from potential buyers right away.
4. Create Your Digital Asset
The actual steps might vary slightly depending on the chosen marketplace. You begin by connecting the wallet to the platform. After opening the registration page, the platform will ask for your wallet details. It will be necessary to verify your wallet before continuing.
Make a final decision regarding your digital content. Get everything ready, whether it’s a single item or an NFT collection.
5. Mint Your NFT
The next step of the process is to create a smart contract, which actually means generating your NFT collection. Begin by adding the media to the website. Now, pick the token symbol and use the wallet to sign the contract.
We suggest double-checking everything and adding as many details as possible. For example, some marketplaces allow inserting an external link with more info about the NFT. In the description field, write some catchy lines to capture the potential buyer’s attention.
6. List Your NFT for Sale
Source: Pixabay
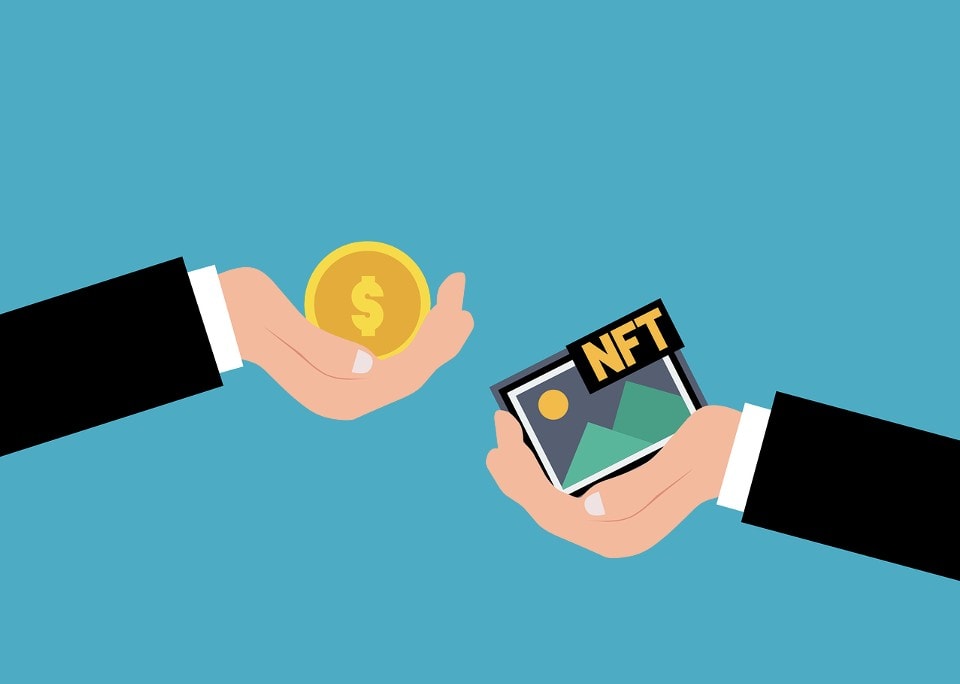
The non-fungible token should now be in your wallet. Click a “sell” button next to it, and you’ll have the option to pick the token’s price. The sale can be time-limited, so set the desired duration.
If everything is ready, you can proceed to publish the listing. Your wallet will be used to sign several transactions. Some chains and marketplaces charge listing fees, but these are usually affordable. You can check Bitcoin NFTs if you’d like to explore non-fungible tokens on this blockchain.
Conclusion
The most important part of NFT creation is devising a unique and attractive idea of the digital content that the token will represent. If you have a unique item, creating an NFT shouldn’t take more than a few minutes. Once you have a wallet ready, pick an Ethereum NFT marketplace and sign up to make your first collection.
After listing the NFT for sale, consider advertising it on social networks or promoting it in another way you see fit. That will increase the chance of the token getting sold, as well as the fee you receive.
This news is republished from another source. You can check the original article here


